
Dacia Sandrider

Chanel - Tweed Collection

Nike - Alexia Putellas

Nike AJ40

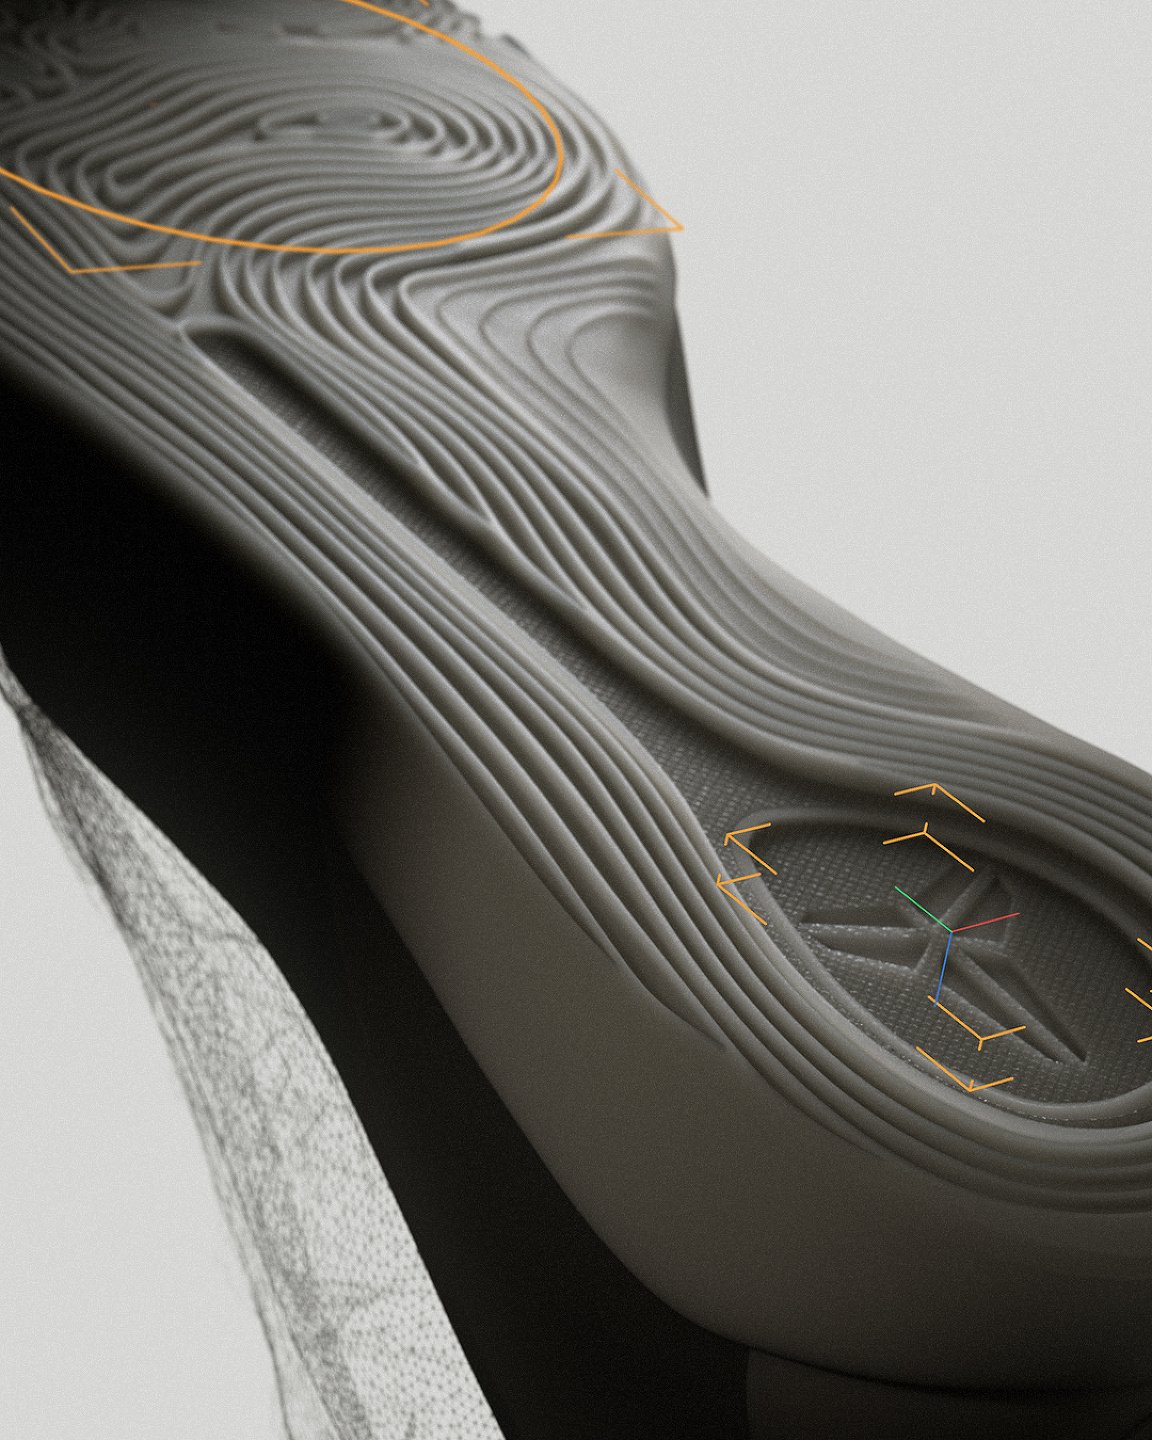
Nike DN8
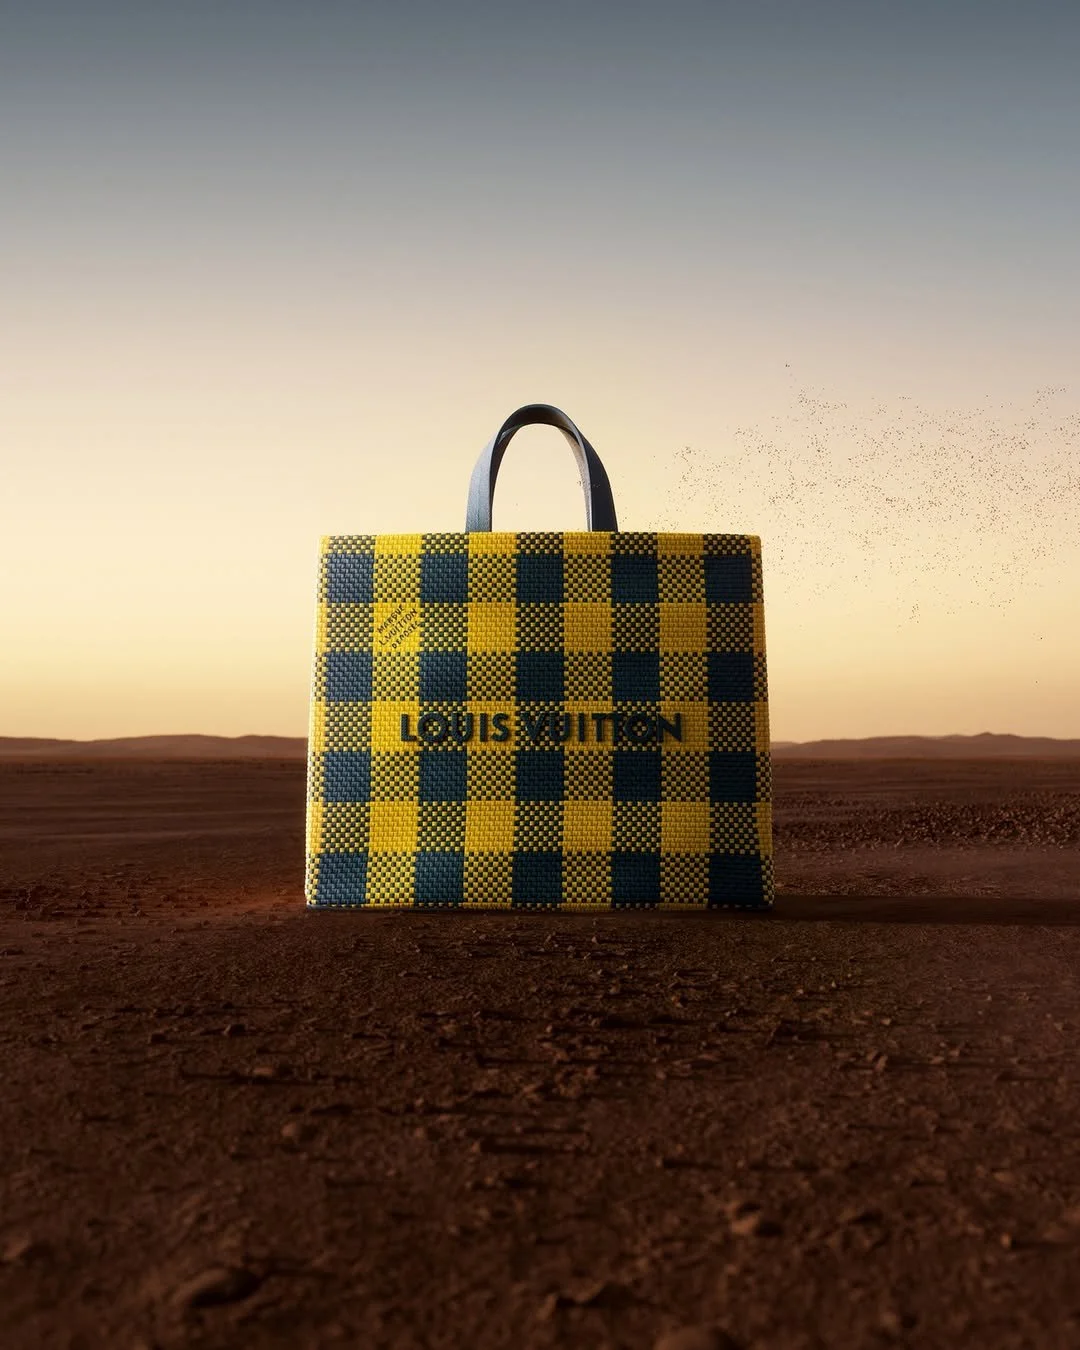
Louis Vuitton Tote Bag

Peloton - Cross Training Series

PowerBeats Pro 2

Miss Dior
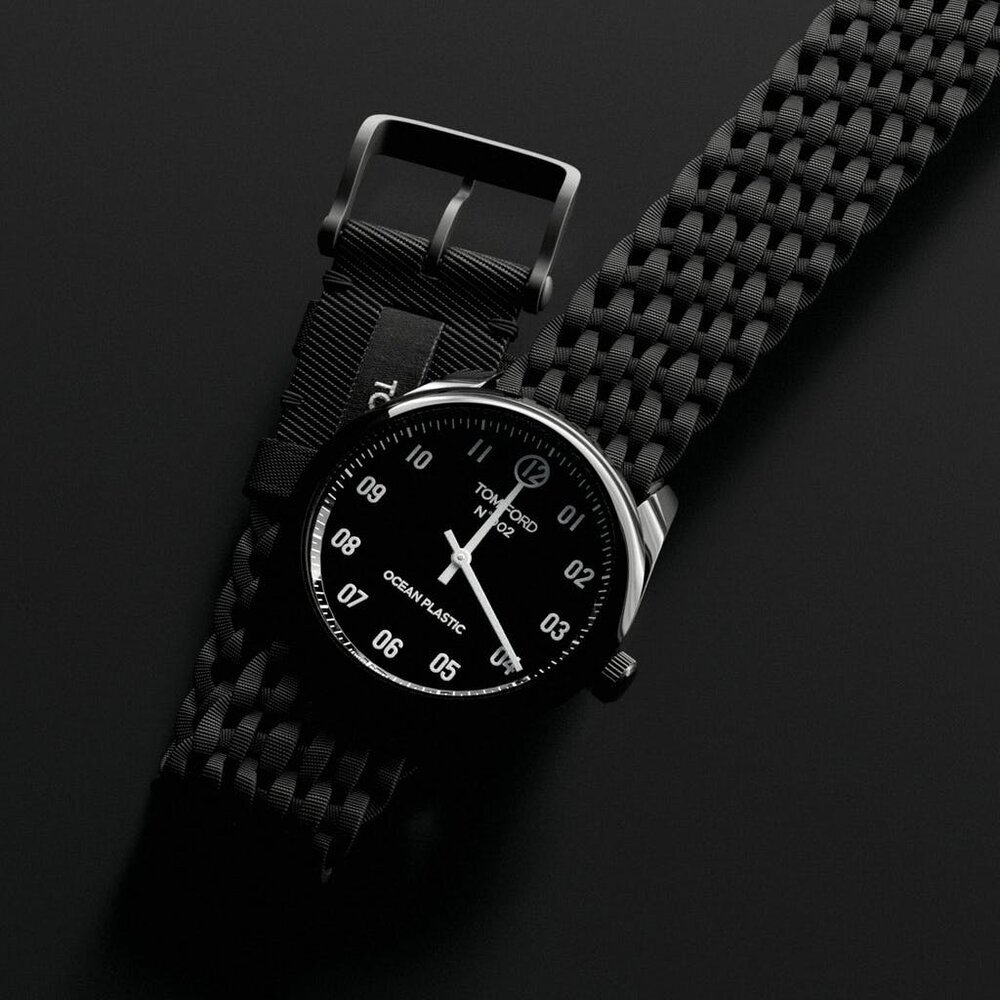
Tom Ford Watch
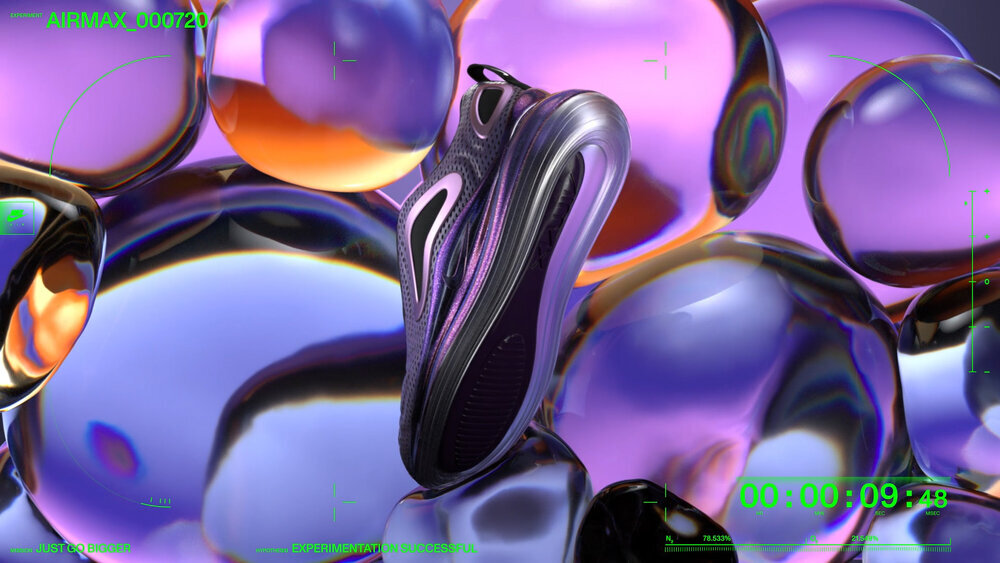
Nike Air Max
Nike The Kobe 9

Prada - Eternal Gold

Rimowa

Bottega Veneta

Dior J'Adore

Dunhill

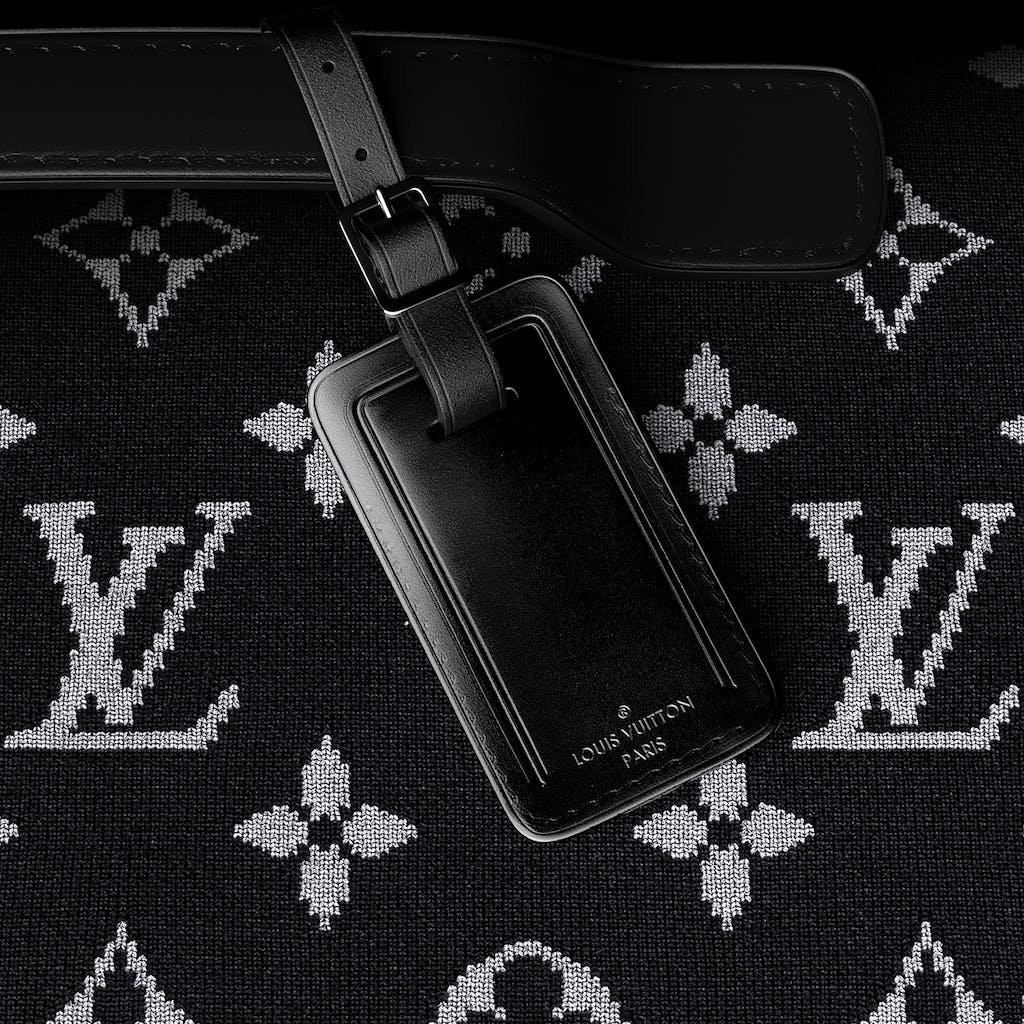
Dunhill Bag
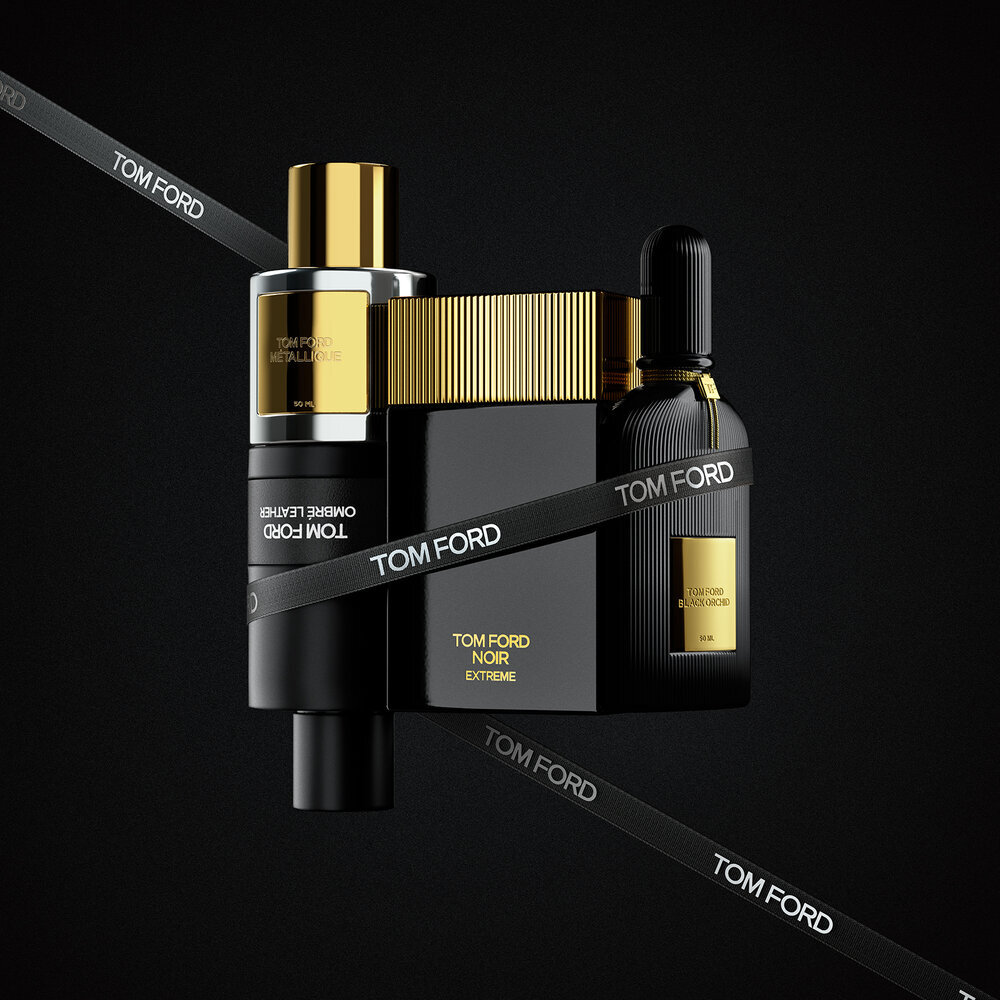
Tom Ford
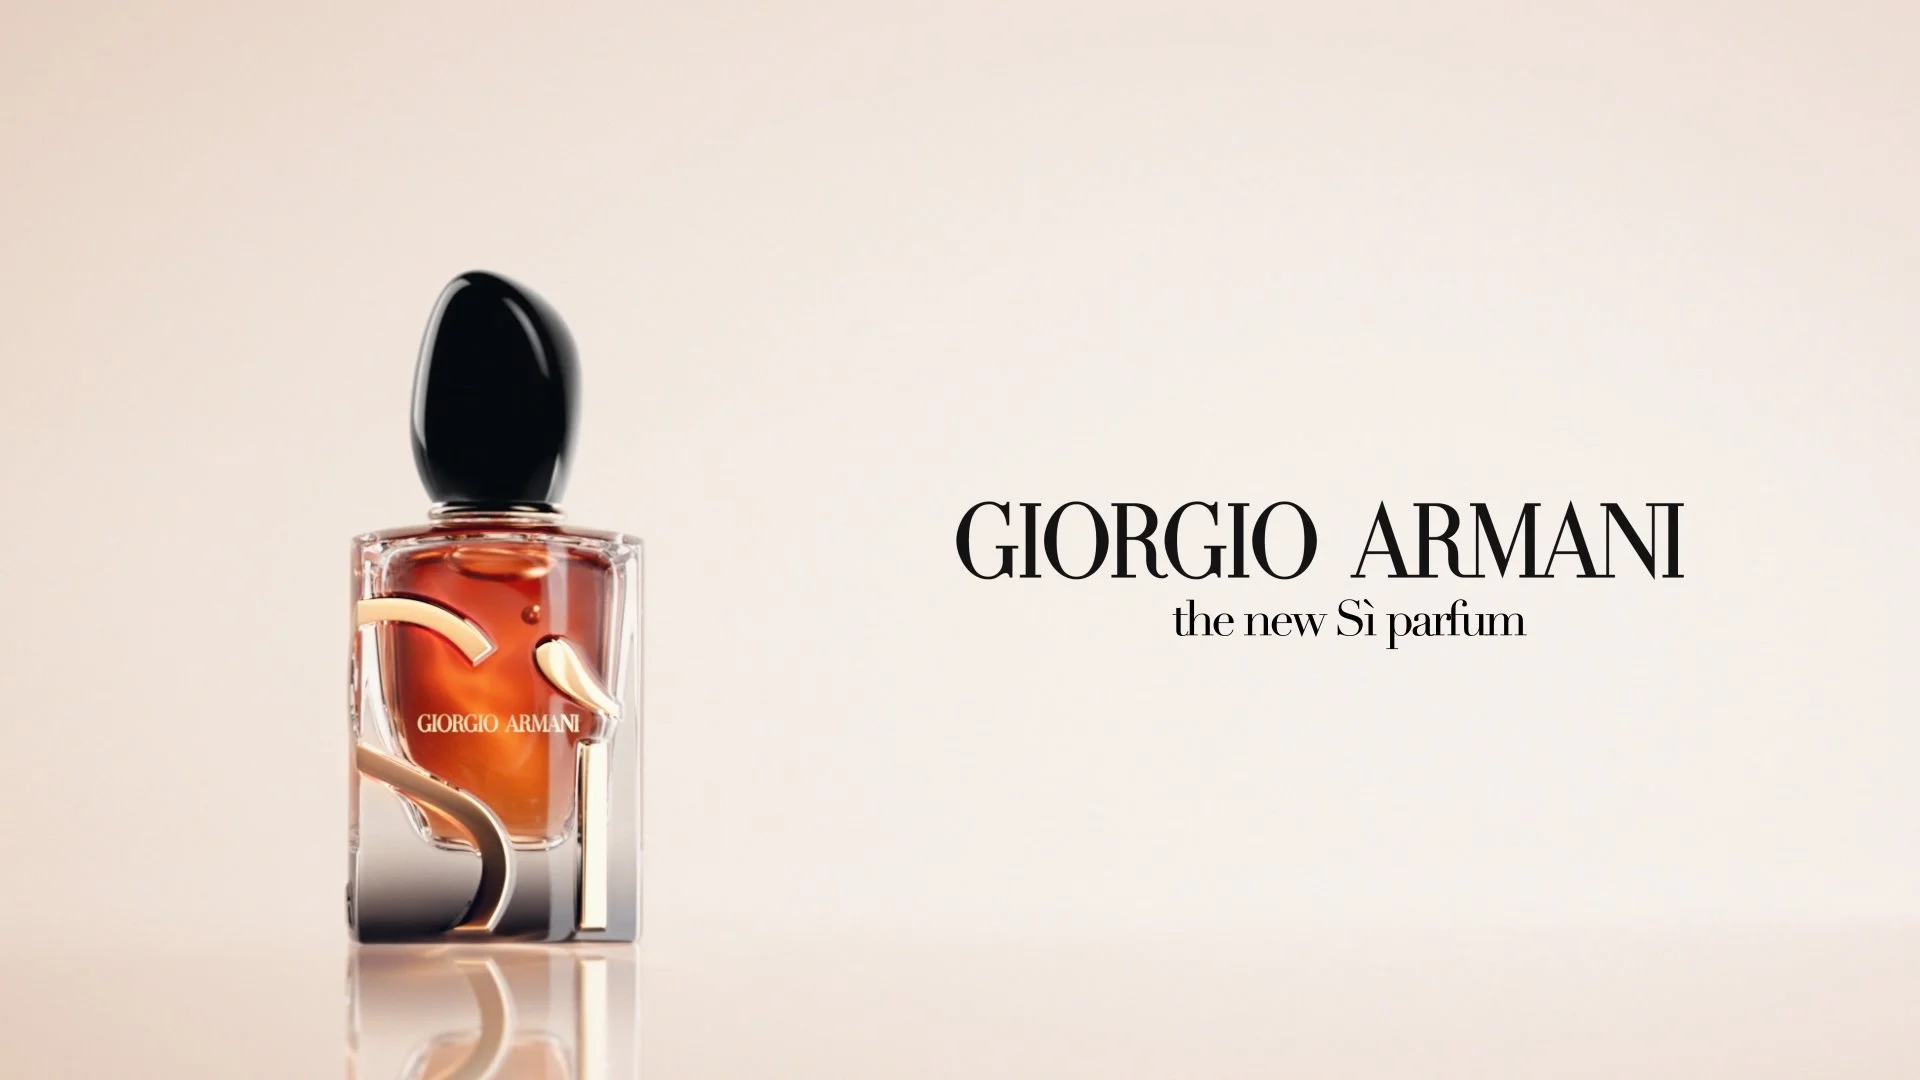
Armani Si
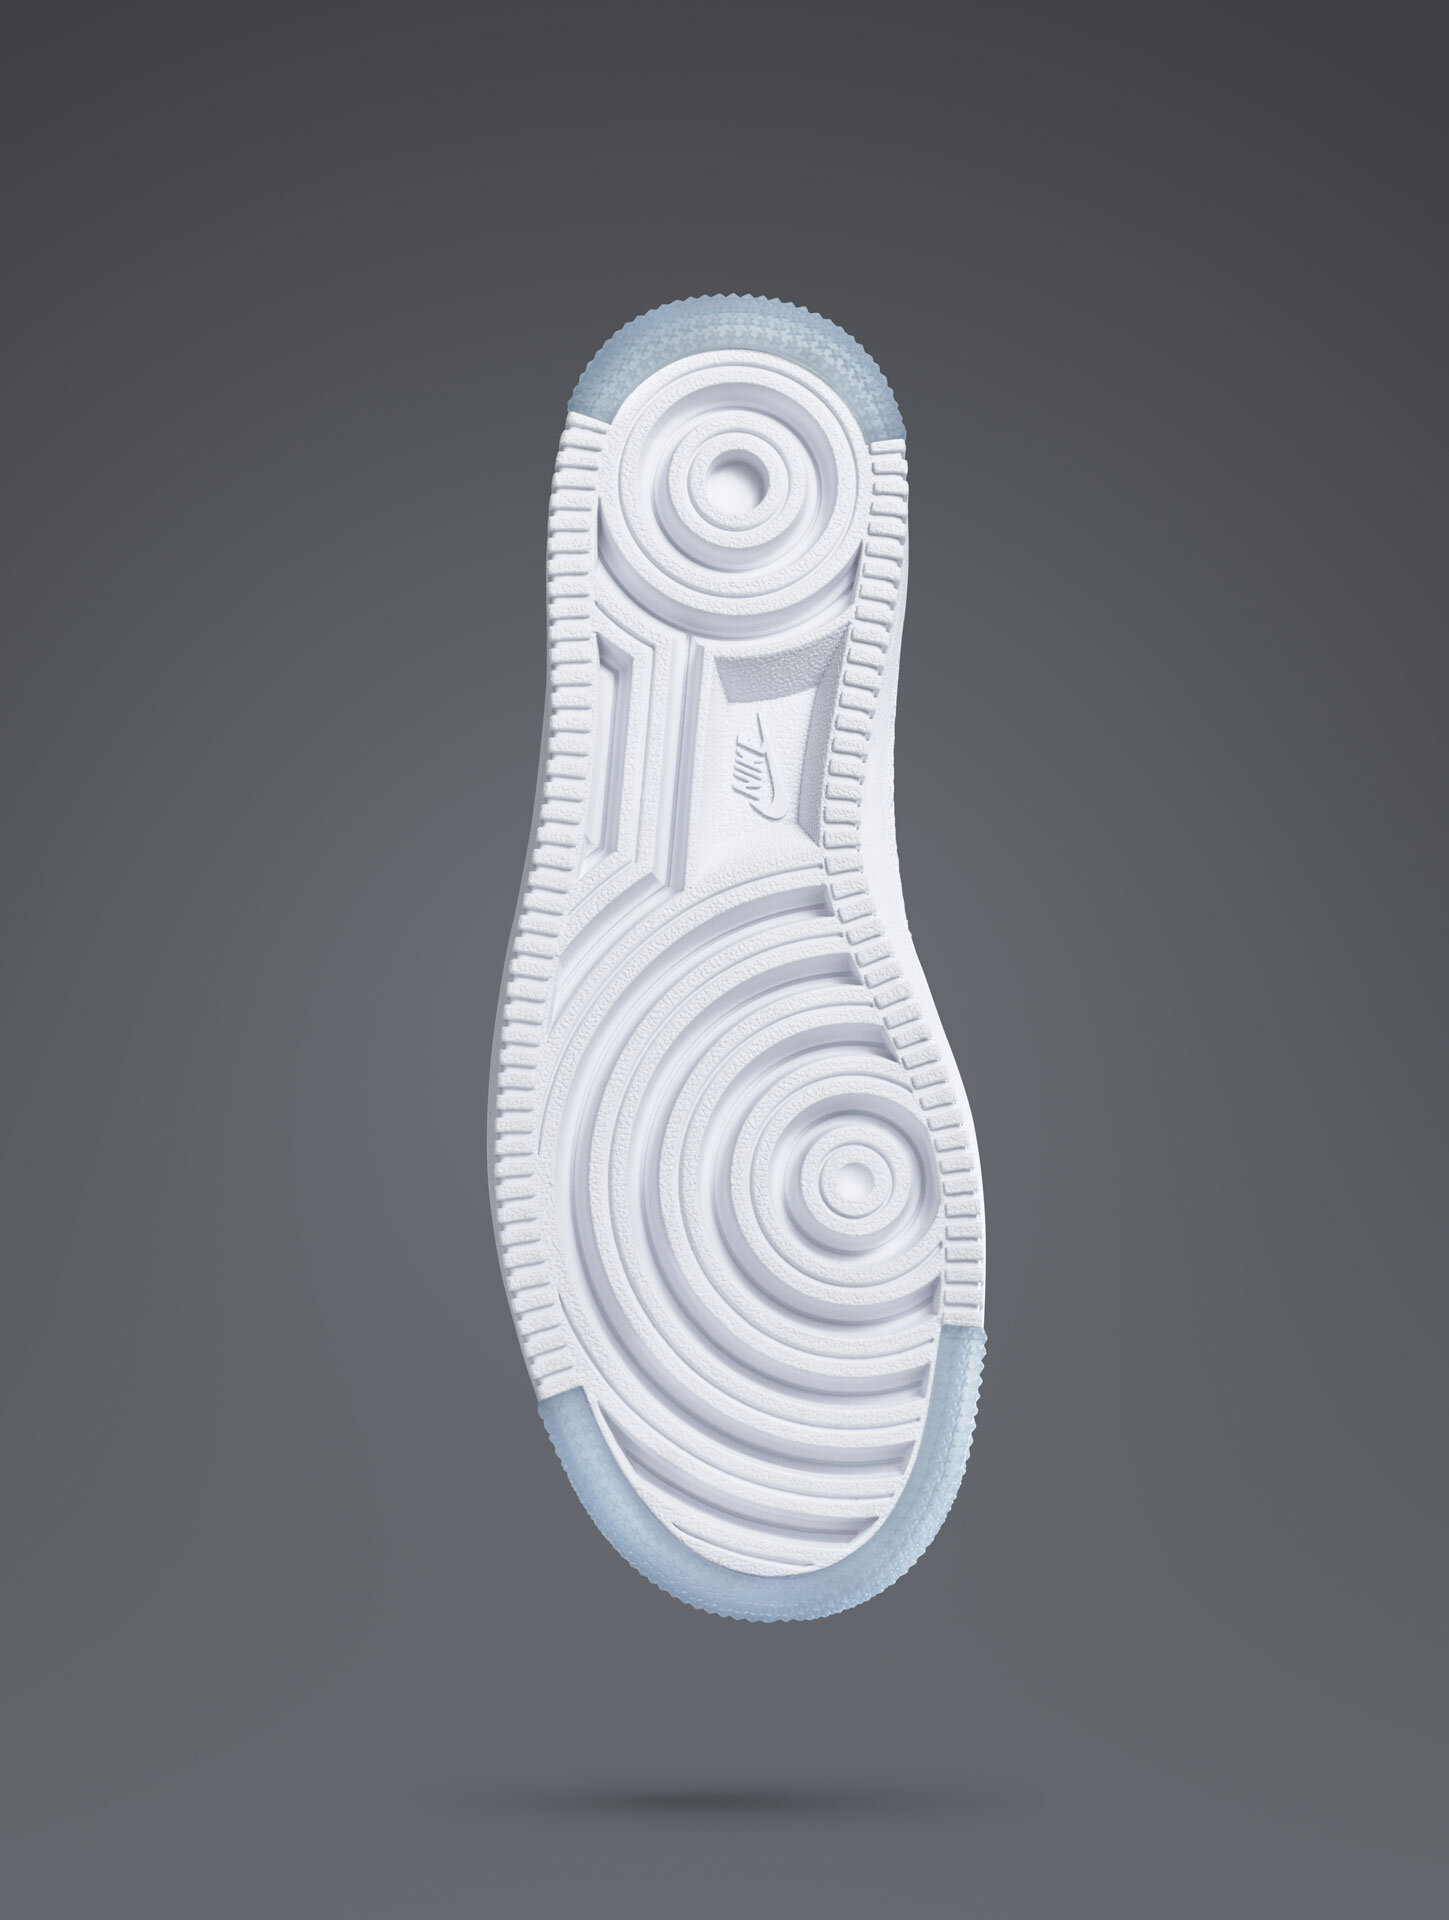
Nike Flyknit AirForce One

Nike Aero Adapt
Louis Vuitton

Tag Heuer Watch